1
HOME > Tech >
TOP 5 TIPS FOR TAKING FASCINATING IPHONE PHOTOGRAPHS
Written by Menswear Style in Tech on the 20th April 2023

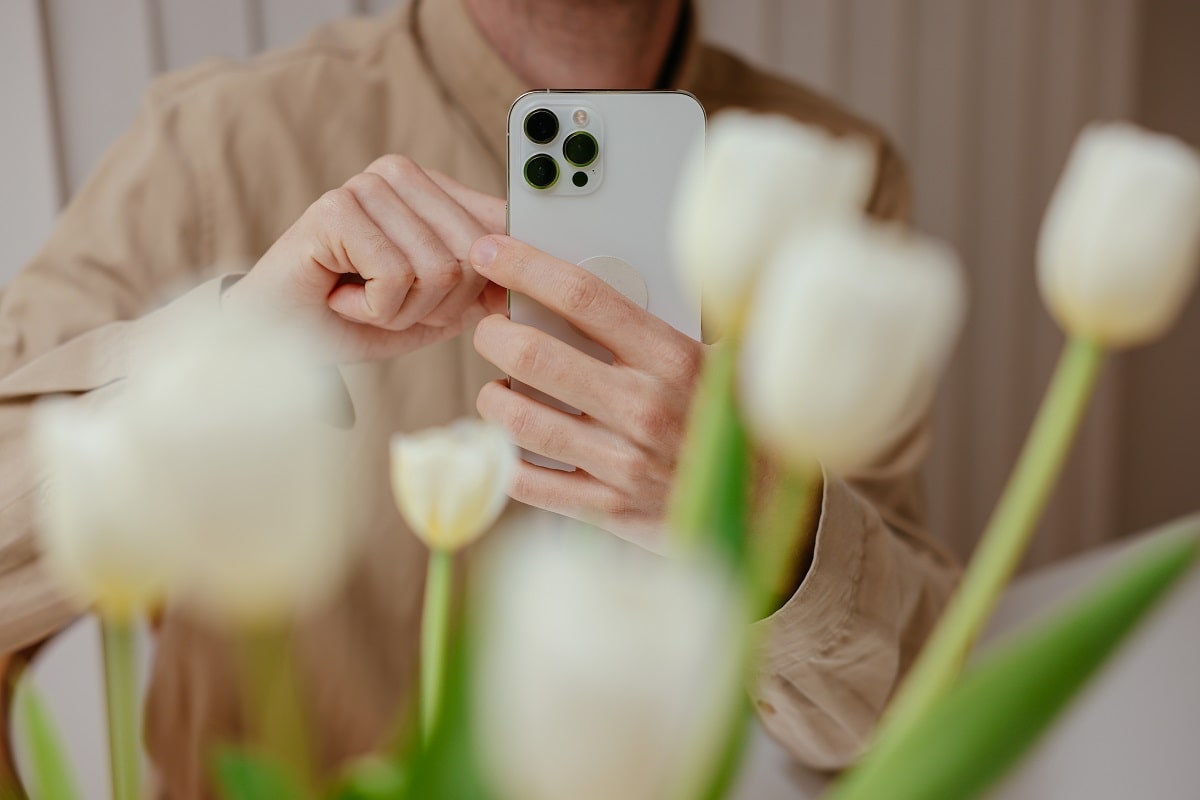
Today, you don’t have to purchase a professional camera to take HD photos. The latest iPhone models are equipped with professional-quality cameras, allowing you to take your first steps in photography or create appealing visual content without investing in expensive equipment. However, a phone itself is not enough to make great shots. Read this article to learn iPhone photography tips and tricks that will help you improve the quality and appeal of your visuals!
Know where to find inspiration
Coming up with ideas for photos can be difficult if you don’t have much experience in this creative field. But looking at the visuals created by other artists can help you generate great ideas quicker and maybe even find some references for your future pictures. What websites or social media platforms should you use as a source of inspiration? This largely depends on the photos you want to create. If you’re promoting a personal brand, check out Pinterest and Instagram accounts of creators working in your niche. If you need illustrative photos that you can use on websites and blogs, browse popular image stocks like Depositphotos. Visit https://depositphotos.com/editorial-photography.html to discover a variety of picture collections on different topics. Apply search filters to sort visuals by color, resolution, orientation, number of people, camera angle, and other parameters. You can also go to Behance and check out top-rated photographers and their artworks. It’s vital to save appealing visuals for referencing and understand what exactly you like about them. Maybe it’s the unusual camera angle, an interesting color palette, or the little details in a photograph. Analyzing pictures can help you generate your personal set of iPhone photography tricks that you can later use to create visuals.
Practice the rule of thirds
This is one of the essential composition tips for photographing on iPhones and standard cameras. Creators have been using the rule of thirds since the 18th century. It’s about dividing a visual into a three-by-three grid and placing main objects at the intersections of these lines. People are often tempted to position subjects at the center of their photos, which can be a good option in some cases. For instance, this works when taking a picture containing a certain visual symmetry, e.g., a tree tunnel. However, in many cases, it would be better to place the main object on one side of the photograph, so it would occupy one or two thirds of the grid. This would make the overall composition more eye-catching. iPhone users have the option to enable grid lines. To do that, go to Settings - Camera and click on the Grid in Composition features to activate it.
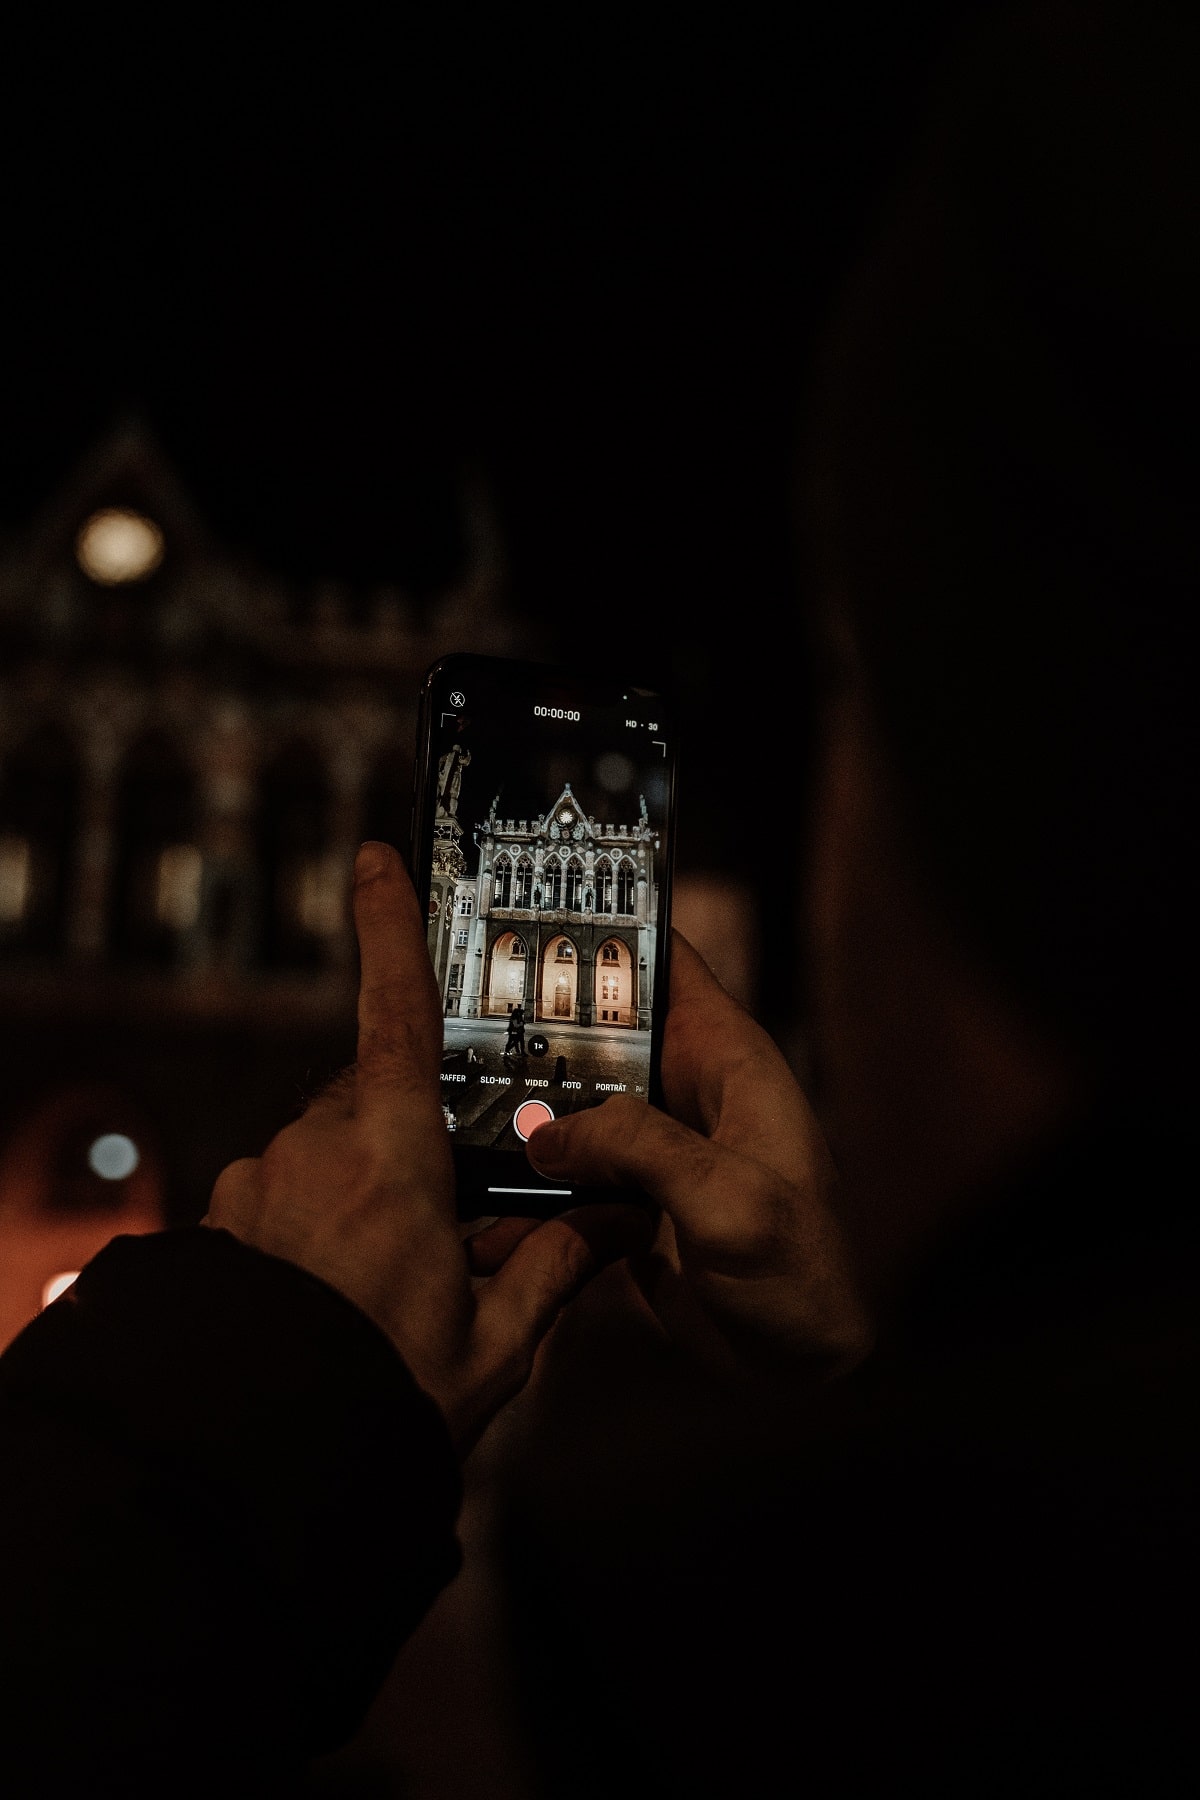
Try a different camera angle
People are used to taking photos from the same angle and point of view with minor adjustments. However, experimenting with positions and camera angles can instantly make your images more interesting and unique. For instance, if a subject is too big to fit in a picture, try photographing it from a seated position. This will help it fit in the frame and make it look more original. Shooting from high and low angles can change a scene, revealing details we usually don’t see from where we stand.

Adjust the camera settings
No professional camera is instantly preset to deliver excellent pictures; you have to adjust settings to ensure that the photos turn out the way you want. The same goes for phones. Besides learning photography tips for iPhones, you must understand how to set up your camera to deliver outstanding results. Turning on the timer is an essential point that can improve your pictures. Tapping on your screen to take a photo can cause shaking, which will result in a blurry image. Turning on the timer can help you avoid that. You should also disable flash when shooting in natural light and adjust focus and exposure manually. Although the iPhone automatically focuses on potential main objects in your photos, its predictions aren’t always correct. Set up the focus manually by tapping on the subject. Moreover, you can adjust the exposure intensity, making the picture brighter or darker. To save the settings, press and hold your finger on the screen. You’ll see the AE/AF LOCK sign at the top of the screen, meaning that your current settings are locked.
Use photo editors to polish your visuals
There are plenty of applications for mobile editing such as an image enhancing tool available on the App Store. Some of them can help you clean up image spots or remove unnecessary objects from pictures, e.g., Adobe Photoshop Express or TouchRetouch. Others are great for applying color filters; adjusting color balance, contrast, and exposure levels; aligning and cropping the pictures; and manipulating other aspects. For that, you can pick popular apps like VSCO and Snapseed or choose Prisma for creative photo editing. There’s also an Adobe Lightroom app available for iPhones. It might offer less advanced features than its desktop version, but it is still a great option for image color correction and retouching. If you are new to photo editing, it’s safer to do less than more when it comes to manipulations. While extensive editing can make a picture more interesting and fix its flaws, there’s a possibility to overdo it. When building your skills as a photographer, focus more on composition, angles, and subjects of the picture than on editing.
Additionally, transforming your photos into different formats can enhance their versatility for various applications. Consider using an image converter to PNG tool for better quality and transparency support, especially if you're planning to use these images for professional graphics or web design. This step can significantly improve the adaptability of your visuals across different platforms.
To sum up
Doing mobile photography can help you improve artistic skills and create appealing visuals for your brand without big investments. Learning iPhone camera tips for beginners, searching for inspiration on different websites, and experimenting with editing can quicken your progress and skill improvement.


Trending
2
3
4
5
6
7
8
9
10


